
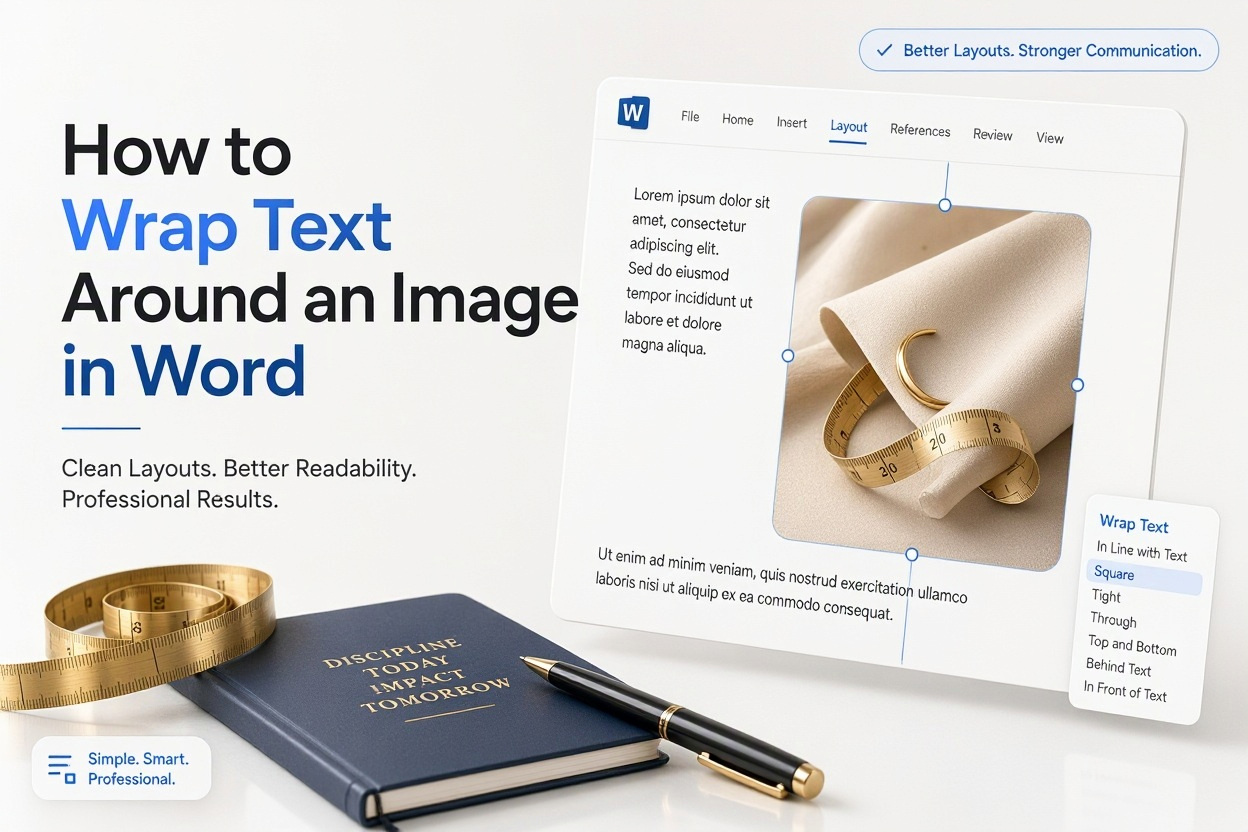
If you have ever inserted a picture into a Word document and watched your text jump all over the place, you are not alone. Learning how to wrap text around an image in Word is one of those small skills that makes a big difference in how polished your documents look. Instead of awkward gaps, broken sentences, or an image stuck in the wrong spot, you can get clean, professional layouts in just a few clicks.
In this article, you will learn exactly where to find the wrapping controls, what each layout option does, and which setting works best for reports, resumes, newsletters, flyers, and school assignments. I will walk you through step-by-step methods for Windows and Mac, show you how to fine-tune spacing and position, and help you fix the most common problems like jumping images or uneven gaps. By the end, you will be able to place any image exactly where you want it.
What Text Wrapping Means in Word
Text wrapping controls how your paragraph text behaves when it meets an image, shape, or illustration. By default, Word treats a new picture as if it were a large text character sitting in a line. That is why the line spacing suddenly expands and you cannot drag the image freely.
When you change the wrapping style, you tell Word to treat the image as a floating object. Text can then flow to the left, right, both sides, or over and under the picture. This gives you full control over placement and helps your document look intentional rather than messy.
Standard Options for Image and Text Layout
Word includes seven main choices: In Line with Text, Square, Tight, Through, Top and Bottom, Behind Text, and In Front of Text. Each one changes the relationship between the picture and the surrounding paragraphs. Square and Top and Bottom work well for most rectangular photos, while Tight and Through follow the actual shape of the object.
Top and Bottom keeps text completely above and below the image with no side text. Behind Text and In Front of Text let you layer images and words. Once you know what each option does, picking the right one takes seconds.
Key wrap choices at a glance:
- In Line with Text keeps the image anchored in the paragraph like a character
- Square creates an even rectangular border of text on all sides
- Tight follows curves and transparent areas more closely than Square
- Through allows text to flow into open gaps inside the image shape
- Top and Bottom pushes paragraphs fully above and below the picture
- Behind Text and In Front of Text layer the image under or over words
Preparing Your Image Before Wrapping Text
A little preparation saves a lot of frustration later. Start by inserting a high-resolution image that is already cropped close to how you want it to appear. If there is extra white space around the subject, Word will treat that space as part of the picture and leave wide gaps in your text.
Resize the image before you set wrapping whenever possible. Drag a corner handle to keep proportions, or use the Size group on the Picture Format tab to enter exact width and height. You should also add alt text and compress oversized files if your document is getting slow to scroll or share.
Wrapping Text With Square Layout
Square is the most used option for everyday documents because it is predictable and tidy. Select the image, open the Layout Options button that appears near the top right corner, and choose Square. Text will immediately flow into a neat rectangle around all four sides of the picture.
You can then drag the image to the left margin, center, or right side of the page. Word will reflow the paragraphs automatically. For business reports and handouts, Square with right alignment often looks cleanest because readers can scan the main text on the left without interruption.
Adjusting Wrap Points for Precise Control
Wrap points are small black handles that define the invisible boundary where text stops. To edit them, select the picture, go to Wrap Text, then choose Edit Wrap Points. You will see red dashed lines with square nodes around the image.
Drag any node inward or outward to reshape that boundary. This is helpful when a photo has an irregular edge or you want text a little closer on one side. [Internal Link: How to Crop and Resize Images in Word] fits naturally here if you need to trim backgrounds before adjusting the boundary.
Setting Default Distance From Text
Even with Square selected, text can sit too close to the picture and look crowded. Right-click the image, choose Wrap Text, then More Layout Options. Under the Text Wrapping tab you will find fields for Top, Bottom, Left, and Right distance.
A setting of 0.15 to 0.25 inches on each side usually gives comfortable white space. Increase the side values for narrow columns and keep top and bottom slightly smaller for dense documents. These margins stay with the image if you move it elsewhere.
Using Tight and Through Layouts for Custom Shapes
Tight and Through are ideal for logos, circular badges, clip art, and photos with transparent backgrounds. While Square always leaves a rectangular block, Tight hugs curves and diagonal edges. Through goes a step further and lets text enter concave gaps, like the open area inside a C-shaped graphic.
To use them, select the image, open Wrap Text on the Picture Format tab, and pick Tight or Through. If the result looks uneven, choose Edit Wrap Points to smooth the outline. These styles work best with PNG files that have true transparency rather than white-box JPEGs.
1. Insert the image and select it to show the Picture Format tab.
2. Click Wrap Text in the Arrange group to open the layout menu.
3. Choose Tight for curved edges or Through for images with interior gaps.
4. Drag the picture to the desired spot and watch the paragraphs reflow.
5. Select Edit Wrap Points if text sits too far away or overlaps details.
6. Open More Layout Options to set exact clearance on all four sides.
7. Save and preview in Print Layout to confirm spacing looks balanced.
Placing Images Behind or In Front of Text
Layered layouts are useful for design-heavy pages like certificates, invitations, and flyers. Behind Text sends the picture under the paragraph layer, so words print directly over it. In Front of Text does the opposite and covers the words with the graphic.
Use the Picture Format tools to adjust transparency, brightness, or color wash after layering. A faded photo behind a paragraph can function as a background without hiding the letters. Keep contrast high enough that the text remains easy to read on screen and in print.
When to Use Behind Text for Watermarks
Behind Text works well for draft stamps, company logos, and light background photos. Insert the image, choose Behind Text, then center it on the page. Open the Format Picture pane to wash out the colors or increase transparency to around 60 to 75 percent.
Avoid placing detailed or dark images behind small body text. The busier the background, the harder the paragraph is to scan. This method is best for single-page notices or title pages rather than long reports.
When to Use In Front of Text for Overlays
In Front of Text is best for stickers, callout badges, signatures, and stamps that should sit on top of words. After selecting this option, you can freely drag the object anywhere without pushing paragraphs aside. Use the corner handles to keep it small so it does not block key sentences.
If the overlay hides too much text, right-click and adjust Bring Forward or Send Backward order relative to other shapes. For scanned signatures, remove the white box background first so only the ink lines cover the page.
Aligning and Moving Wrapped Images With Precision
Dragging with a mouse is fast but rarely exact. For better alignment, select the picture and use the Align dropdown in the Arrange group. You can align to the margin, page, or column, then choose Align Left, Center, Right, Top, or Middle. This keeps multiple images consistent across pages.
Turn on gridlines and object anchors from the View tab if you are building a complex layout. Lock Anchor keeps the image tied to a specific paragraph so it does not jump when you add text above. Use the Position menu for preset placements like top-right with square wrapping.
Quick tips for stable placement:
- Use Align to Margin rather than Align to Page for body images
- Keep Lock Anchor on when the image must stay with a specific paragraph
- Select Move with Text if the picture should travel as you edit
- Turn off Move with Text for cover graphics that must stay fixed
- Check Print Layout view, not Web Layout, for true page positioning
- Group a caption text box with its image before moving either one
Fixing Common Problems With Text Wrapping
Even experienced users run into odd behavior. The most frequent issue is large white gaps, usually caused by an image that is too wide for the column or has hidden padding. Shrink the picture slightly or change from Square to Top and Bottom to restore smooth paragraph flow.
Another common problem is text overlapping the image after switching styles. This often happens with Behind Text or In Front of Text. Open More Layout Options and confirm the correct wrapping style is still selected, then increase brightness or transparency so overlapping words remain legible.
Text Gaps Around Large Images
Wide screenshots and charts often leave a narrow strip of one or two words beside them, which looks unprofessional. If the image takes up more than about two-thirds of the page width, avoid side wrapping entirely. Switch to Top and Bottom so paragraphs sit fully above and below.
You can also split the content into two columns for that section, or place the large visual on its own page with a caption. Small side captions in a text box can fill empty space better than forcing body copy into a thin column.
Image Jumping to Another Page
An image jumps when its anchor paragraph moves. Show formatting marks to find the little anchor icon, then drag that anchor to the paragraph where the picture belongs. Enable Lock Anchor so future edits do not pull the visual to a new page.
If the file still repaginates strangely, set Text Wrapping to Top and Bottom and choose a fixed Position. Disable Allow Overlap in Advanced Layout to prevent pictures from stacking. For long documents, keep each major image anchored to its own heading rather than clustering them together.
Practical checklist to prevent layout breaks:
- Confirm the image is not wider than the margins or column
- Match the wrap style to image width and document type
- Set left and right clearance to at least 0.15 inches
- Lock the anchor to the correct paragraph after placement
- Avoid placing more than two floating images per page
- Preview in Print Preview before exporting to PDF
- Compress pictures if the file becomes slow to edit or share
Text Wrapping Differences in Word for Web and Mac
Most wrapping features are identical on Windows and Mac, but the menus look slightly different. On Mac, you will find Wrap Text under the Picture Format tab in the Arrange section, just like Windows. The Layout Options icon beside the image also offers the same seven styles.
Word for the web is more limited. You can apply Square, Tight, Top and Bottom, and In Line with Text, but Edit Wrap Points and advanced distance controls may be missing. For precise work, start the document in the desktop app, apply wrapping there, then use the web version only for light text edits.
Best Practices for Professional Looking Documents
Good image placement is about readability first. Keep one clear focal point per page and avoid surrounding it with competing graphics. Leave generous white space so the eye can move naturally from headline to picture to body copy.
Match image style to your content. Use sharp, well-lit photos for reports, simple icons for instructions, and charts with readable labels rather than tiny screenshots. Add a brief caption under each important visual so readers understand why it is there without guessing.
Things to do and things to avoid:
Do keep images aligned to the same margin throughout the document. Do use Top and Bottom for wide charts and Square for small portraits. Do add consistent captions and alt text. Do not wrap body text on both sides of a tall image in narrow columns. Do not place low-resolution pictures that turn blurry in print. Do not layer text over busy backgrounds without fading the image first.
For resumes, place a small headshot with Tight wrapping so work history flows neatly beside it. For newsletters, use Square on the outer margin to create a magazine feel. For manuals, prefer Top and Bottom with numbered captions because procedures are easier to follow when steps are not squeezed beside photos. [Internal Link: Microsoft Word Formatting Tips for Long Documents] can help you keep headings, page breaks, and image placement consistent across larger files.
Conclusion
Square works for most everyday layouts, Tight suits irregular shapes, Top and Bottom keeps wide visuals clean, and layered options handle backgrounds and overlays. Set comfortable spacing, lock the anchor to the right paragraph, and preview in Print Layout before sharing. Once you practice the steps a few times, learning how to wrap text around an image in word becomes second nature and your documents will look far more polished with much less effort.
Frequently Asked Questions
Why Text Wrapping Is Not Showing in Word?
The Picture Format tab appears only when the image is selected. Click the picture first, then look for Wrap Text in the Arrange group or use the Layout Options icon beside the image.
How to Keep an Image in One Place?
Select the image, choose a floating wrap style like Square or Top and Bottom, then open More Layout Options and enable Lock Anchor. This ties the picture to a specific paragraph.
How to Remove Extra Space Around a Picture?
Open Wrap Text, select More Layout Options, and reduce the distance values for Top, Bottom, Left, and Right. Cropping hidden white edges around the image also helps tighten spacing.
How to Wrap Text in Word on Mac?
Click the image, open the Picture Format tab, select Wrap Text, and choose Square, Tight, or Top and Bottom. Drag the picture where you want it and adjust spacing as needed.
How to Stop Text From Overlapping an Image?
Change the style from Behind Text or In Front of Text to Square or Top and Bottom. Then increase clearance values and confirm Allow Overlap is turned off in Advanced Layout.