
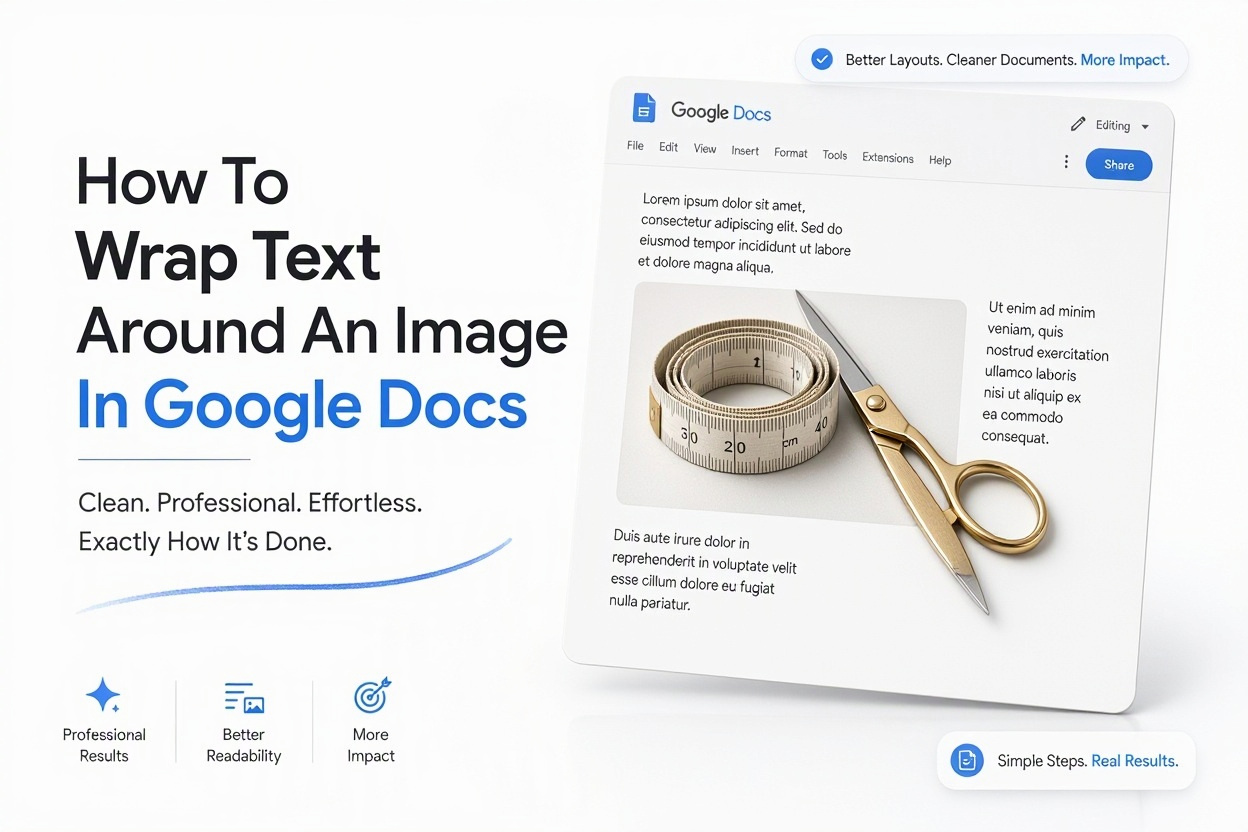
Learning how to wrap text around an image in google docs makes your documents look cleaner and easier to read. Instead of leaving large gaps above and below a picture, you can let sentences flow neatly along one or both sides. This technique is useful for reports, newsletters, lesson plans, resumes, and business proposals.
In this article you will learn where to find the text wrap controls, what each option does, and how to position images precisely. I will also cover spacing, mobile steps, common layout problems, and simple habits that keep your pages looking professional without extra effort.
Text Wrap Options Available in Google Docs
Google Docs gives you five main ways to place an image among words. Each option changes how paragraphs react when they meet the picture. Knowing the difference saves time because you can pick the right layout before dragging anything around.
The default setting is Inline, which treats the image like a large text character. Wrap Text lets words flow on one or both sides. Break Text forces text above and below, while Behind Text and In Front of Text give free placement.
Inline, Wrap Text and Break Text Explained
Inline keeps the image anchored to a specific line. If you add sentences before it, the picture moves down with the paragraph. This works well for charts that belong to one exact spot in the instructions.
Wrap Text releases the image from the line and creates a flexible box around it. Text fills the space on the left, right, or both sides depending on where you place the picture. Break Text is stricter and leaves white space on both sides, so no words sit beside the image.
What Fix Position and Move With Text Mean
Under the image options you will see choices for how the picture behaves when you edit. Move with text keeps the image near the paragraph where you inserted it. If that paragraph shifts to the next page, the image follows.
Fix position on page locks the image to one spot, even if you add or delete paragraphs around it. This is helpful for logos, headers, or side illustrations that should stay in the corner while the body text changes.
Inserting and Preparing Images for Text Wrapping
Before you change any wrap setting, you need an image placed correctly in the file. You can upload from your computer, pull from Google Drive or Photos, search the web, or paste from a URL. Large files may slow the document, so use a clear but reasonably sized image.
Once the picture is in place, click it once to select it. A small toolbar appears below with alignment and wrap icons. You can also use the side panel for more precise control over size, margins, and position.
Inserting Images From Computer, Drive and Web
Go to Insert, then Image, and choose your source. Upload from computer is best for screenshots and photos you edited. Drive and Photos work well if you already store assets in Google accounts and want quick access.
After insertion, drag a corner handle to resize proportionally. Avoid dragging the side handles alone because that stretches the picture. Aim for a width that leaves enough room for text beside it, usually one-third to one-half of the page width.
Selecting the Image to Show Wrap Controls
Click the image once and look for the floating toolbar. You will see Inline, Wrap Text, and Break Text icons in a row. Choosing Wrap Text there is the fastest method for most documents.
For full settings, click the three dots on that toolbar and choose All image options. A sidebar opens on the right with Size, Text wrap, and Position sections. Changes there apply instantly, so you can test values while watching the layout. For more formatting ideas, see [Internal Link: Google Docs Formatting Tips].
Quick Checklist for Image Setup Before Wrapping
- Image is inserted and resized to fit beside text without crowding
- Image is selected so wrap icons and All image options are visible
- Wrap Text is chosen instead of Inline for side-by-side layout
- Left or right alignment is set to guide where text should flow
- Top and bottom margins are checked for even white space
Setting Text to Flow Around Both Sides
Many people want sentences on both the left and right of a small graphic, especially for icons or product shots centered in a column. Google Docs allows this when the image is narrow enough and centered with Wrap Text active.
The key is to leave sufficient page width on each side. If the picture is too wide, Docs will push text to only one side or below. Shrinking the image slightly often solves the issue without changing any other setting.
Centering a Small Image for Balanced Flow
Insert the image, choose Wrap Text, then set alignment to center. Drag the picture to the middle of the paragraph where you want balance. Text should now fill both margins around it in a natural way.
If words appear only on one side, the image may still be offset. Open All image options, go to Position, and adjust the horizontal offset. Small moves of 0.2 to 0.5 inches can create equal space without manual line breaks.
Using Left and Right Alignment for Magazine Style Layout
For a classic article look, place the image on the left or right and let a full column of text run beside it. Select the image, choose Wrap Text, then pick left align or right align from the toolbar.
This style works well for author photos, pull-out graphics, and step illustrations. Keep the height similar to two to four paragraphs so the page does not feel lopsided. Readers scan faster when the visual anchor stays consistent down the page.
Fine Tuning Margins, Position and Alignment
Default wrapping can feel cramped because text touches the image edge. Google Docs lets you add padding on all four sides through the Text wrap panel. Even a small margin makes the layout easier on the eyes.
Position controls also matter. You can set exact placement from margins or columns, lock the image to a page, or let it move with nearby text. Precise values help when you share the file and want it to look the same for others.
Adjusting Top, Bottom, Left and Right Padding
Open All image options and expand Text wrap. You will see fields for margin distance in inches. Start with 0.1 to 0.2 inches on each side for standard documents. Increase to 0.3 inches for presentations or handouts that need more breathing room.
Left and right margins control the gap between words and the picture frame. Top and bottom margins control space before the next paragraph resumes full width. Preview the change and adjust one side at a time until lines no longer feel crowded. Related layout controls are explained in [Internal Link: How to Add Page Borders in Google Docs].
Locking Image Placement for Stable Editing
If your image jumps while you type, check the Position section. Choose Move with text when the graphic belongs to specific instructions. Choose Fix position on page when it should stay in a header, sidebar, or footer area.
Fix position is useful for templates where others will replace text but not design. Move with text is better for tutorials and reports where images must stay beside the steps they illustrate. Test by adding a blank line above and watching how the picture reacts.
Wrap Text Compared With Other Layout Choices
Wrap Text – Text flows on left, right, or both sides. Best for medium photos, side illustrations, and magazine layouts where you want to save vertical space.
Break Text – Text stays above and below only. Best for wide charts, screenshots, and full-width banners that need full attention.
Inline – Image behaves like a text character. Best for emojis, small icons inside a sentence, and exact placement within steps.
Behind Text – Words overlay the image. Best for light watermarks and faded backgrounds that should not interrupt reading.
In Front of Text – Image covers words. Best for stickers, badges, and callouts placed over a finished layout.
Wrapping Text Around Images on Phone and Tablet
The Google Docs mobile app supports basic text wrapping, though the controls look different from desktop. You can still switch between inline and wrap options and resize images with touch handles. The layout updates across devices when saved.
Editing on a small screen requires patience because precise dragging is harder. Make major placement changes on a computer when possible, then use mobile for small fixes like switching alignment or replacing an image.
Steps to Change Wrap on Android and iPhone
1. Open the Docs app and tap the document to edit.
2. Tap the image once to select it.
3. Tap the Format icon or the three dots menu at the top.
4. Open Text wrap or Image options depending on your version.
5. Choose Wrap text, then pick left, center, or right alignment.
6. Drag corner handles to resize and check how paragraphs reflow.
Limitations to Expect on Mobile
You cannot set exact margin values in inches on most mobile versions. Padding controls and fixed positioning are also limited or hidden. If text looks tight, reduce image size or move the picture to its own line until you can edit on desktop.
Tables, headers, footers, and drawings may behave differently on mobile. Wrapped images inside table cells sometimes revert to inline. For complex newsletters, keep the mobile layout simple and finalize spacing later on a laptop.
Troubleshooting Layout Problems With Wrapped Images
Wrapped layouts can break when images overlap, disappear behind text, or push paragraphs to odd places. Most issues come from size, position mode, or conflicting settings like fixed page placement combined with narrow margins.
Start with the simplest fix first. Reduce image size, switch back to Wrap Text, and set Move with text. In many cases the document returns to normal without rebuilding the whole page.
Fixing Overlapping Text and Hidden Pictures
If words cover your image, you likely selected Behind Text by accident. Click the picture, open Image options, and switch to Wrap Text. Increase the margin slightly so letters do not touch the edge.
If the image covers words, it is set to In Front of Text. Change it back to Wrap Text and choose left or right alignment. When pictures vanish completely, check if they moved behind a table or to another page due to Fix position.
Preventing Large Gaps and Jumped Pages
A wide image with Wrap Text can force a large blank area because Docs cannot fit words beside it. Shrink the width or switch to Break Text so paragraphs use full width above and below. Avoid pressing Enter repeatedly to push text, since that creates unstable spacing.
If adding one sentence moves images across pages, change Position to Move with text. Also check that the image is not anchored inside a table cell with tight row height. Keeping graphics outside complex tables gives more predictable flow.
Common Mistakes That Break Text Wrapping
- Using a full-width screenshot with Wrap Text and expecting side text to fit
- Stretching images with side handles, which distorts proportions and margins
- Leaving zero margin so letters touch photo edges and reduce readability
- Mixing Fix position with heavy editing, causing images to detach from related paragraphs
- Placing wrapped images inside narrow table cells where there is no room to flow
- Adding manual spaces or line breaks instead of setting proper alignment and padding
- Forgetting to check mobile view, where wide images push text off screen
Conclusion
Wrapping images well comes down to three habits: choose Wrap Text for side flow, size the picture to leave room, and add small margins for clarity. Position settings decide whether the graphic stays with its paragraph or remains anchored while you edit. Mobile tools handle basic changes, while desktop gives full control over spacing and placement.
With these settings you can build reports, guides, and newsletters that read smoothly on any screen. Practice with one document until the controls feel familiar, then reuse the same layout for future files. Once you learn how to wrap text around an image in google docs, everyday formatting becomes faster and more consistent.
Frequently Asked Questions
Why text wrap is not working in Google Docs?
Text wrap usually fails when the image is too wide or set to Inline. Select the picture, choose Wrap Text, shrink the width, and set left, center, or right alignment.
How to move a wrapped image freely in Google Docs?
Select the image, open All image options, and set Position to Fix position on page. You can then drag it anywhere and adjust horizontal and vertical offsets precisely.
How to remove text wrapping from an image in Google Docs?
Click the image, open the wrap toolbar, and choose Inline or Break Text. Inline places it within the line, while Break Text keeps full-width paragraphs above and below.
How to wrap text around multiple images in Google Docs?
Format one image at a time with Wrap Text and proper margins. Space them across paragraphs so text has room to flow, and avoid stacking wide pictures side by side.
Why image quality drops after wrapping text in Google Docs?
Wrapping does not lower quality, but resizing a small image larger causes blur. Start with a high-resolution file, resize by corners only, and avoid stretching beyond original dimensions.